
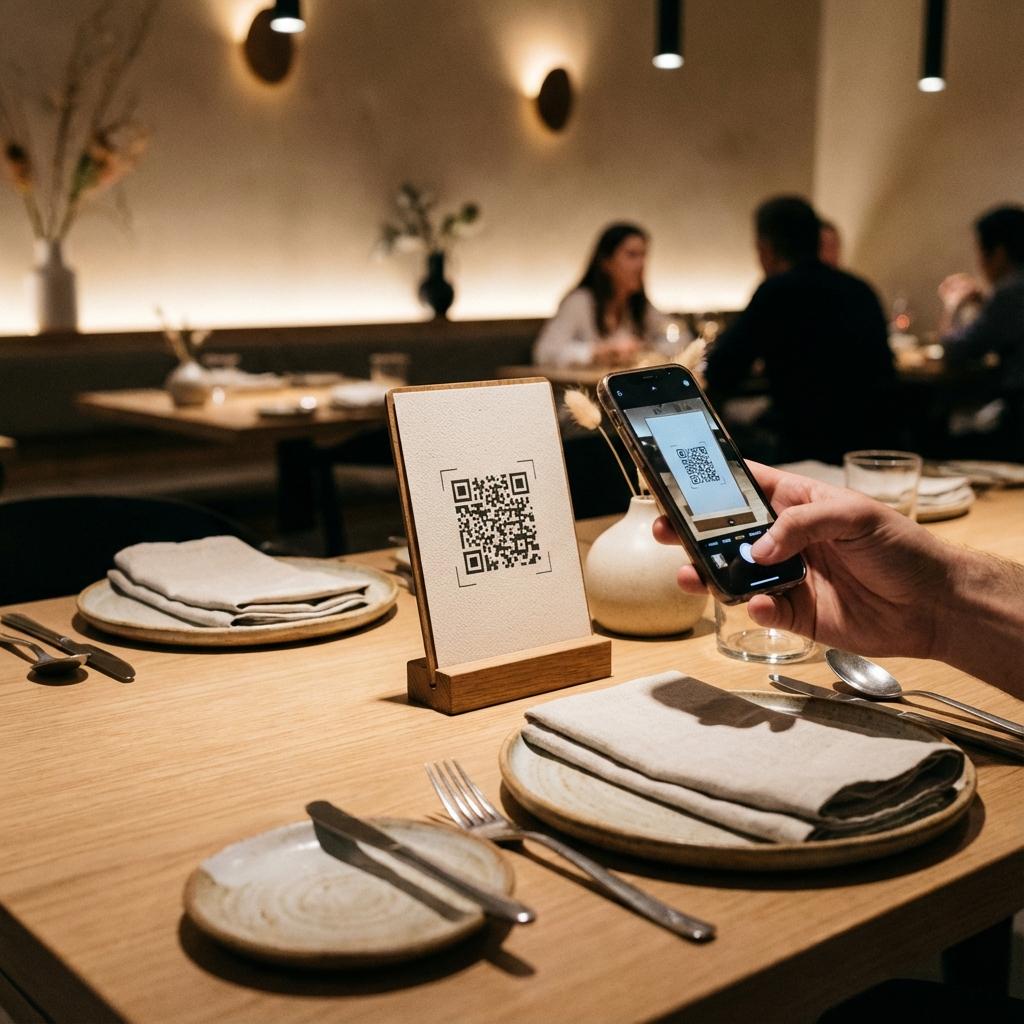
How to set up a restaurant QR code menu (quick answer)
- 1. Prepare your menu — upload as a PDF or use a mobile-friendly landing page
- 2. Create a dynamic QR code so you can update the link anytime without reprinting
- 3. Customize the design with your logo and brand colors
- 4. Print at minimum 2" × 2" and place where guests naturally look — table tent, menu cover, or window
- 5. Track scans to see peak times and optimize
Why QR Code Menus Became a Restaurant Standard
What started as a contactless safety measure during the pandemic has become a permanent fixture in the restaurant industry. According to industry data, over 60% of restaurants that adopted QR menus during 2020–2021 kept them afterward — not for safety reasons, but because of the business benefits [NRA, 2022].
The advantages are straightforward: a printed menu costs $3–8 per copy to laminate and reprint whenever items change. A QR menu costs nothing to update. For a restaurant that changes its seasonal specials every few months, that adds up fast. Beyond cost savings, QR menus open up analytics that paper never could — you can see which menu sections guests spend the most time on, when peak scanning happens during the day, and which table locations drive the most engagement.
Static vs. Dynamic QR Codes for Restaurant Menus
This is the most important decision you'll make when setting up a restaurant QR menu.
Static QR codes encode your menu URL directly into the code. Once printed, the link is permanent. If your menu URL changes — or if you switch to a different menu platform — you have to reprint every table card, tent, and sign. They're fine for a single use, but impractical for a living document like a restaurant menu.
Dynamic QR codes work differently: they point to a short redirect URL that you control from a dashboard. The printed QR code never changes, but you can update the destination link anytime. Seasonal menu? Update the link. Switching from a PDF to a proper menu website? Update the link. No reprinting, no waste.
Dynamic QR codes also give you scan analytics — device types, scan times, and location data. For a restaurant, knowing that 80% of guests scan between 12:00 and 13:00 on weekdays tells you something about how to structure your lunch push.
Recommendation: Always use dynamic QR codes for restaurant menus. Create a dynamic QR code here →
What Should Your QR Menu Link To?
The destination matters as much as the QR code itself. There are three common options:
Upload your menu PDF to Google Drive, Dropbox, or your website. Works well for simple menus. Downside: PDFs can be slow to load on mobile and are hard to read without zooming.
A dedicated web page built for mobile. Fast, readable, no pinching to zoom. Can include photos, allergen info, and prices. Best guest experience.
Services like Yummly or a custom CMS. Best for larger restaurants with complex menus that change frequently. Higher setup cost but most flexible.
Whatever you choose, make sure the page is mobile-optimized — over 90% of QR menu scans happen on a smartphone. Test it: if you have to pinch to zoom or scroll horizontally, guests will abandon it.
Step-by-Step: Setting Up Your Restaurant QR Menu
- Prepare your menu file or page. If using a PDF, export a mobile-optimized version (portrait orientation, large font, high contrast). If using a landing page, test it on both iOS and Android before printing anything.
- Get your menu URL. Upload the PDF to a hosting service or use the URL of your menu page. Make sure it loads in under 3 seconds on a mobile connection.
- Create a dynamic QR code at QR Master. Paste your menu URL as the destination. This creates a redirect you can update later.
- Customize the design. Add your restaurant logo, use your brand colors, and make sure there's enough contrast between the QR pattern and background (always dark on white, never reverse).
- Download the QR code in SVG format for print quality. SVG scales to any size without pixelation — critical for table cards and larger signs.
- Test before printing. Scan with both iPhone (native camera) and Android (Google Lens and native camera). Test at different distances and lighting conditions.
- Print at the right size. Minimum 2" × 2" (5 × 5 cm) for table use. Recommended 2.5" × 2.5" for table tents. For window decals or A-frames, go larger — 4" × 4" or more.
- Place where guests look naturally (see placement guide below).
QR Menu Placement Guide
Where you put the QR code determines whether guests actually use it. The goal is to place it where their eyes naturally land when they sit down and look for the menu.
- Table tent (best option): A folded card standing upright on the table. Guests see it immediately when seated. Use two-sided printing: QR code on one side, a short instruction ("Scan for menu") on the other.
- Menu cover or insert: Print the QR code on the inside cover of a physical menu folder. Works well if you still hand out menus but want digital access for specials or allergen info.
- Placemat: Printed directly on paper or laminated placemats. Economical for high-turnover casual dining. Replace regularly to keep them clean and scannable.
- Window decal: Great for takeout and to-go orders. Place at eye level near the entrance or pickup counter.
- Counter stand: For counter-service restaurants, a small acrylic stand at the order point works well.
Avoid: Placing QR codes flat on a table surface without any framing (guests overlook them), on glossy surfaces without a matte laminate (reflections prevent scanning), or in low-light corners where the camera struggles to focus.
Design Tips for Scannable, On-Brand QR Menus
The QR code is a physical extension of your brand. It should look intentional, not like a generic black-and-white square dropped on a napkin dispenser.
- Contrast is everything: Dark pattern on a white or very light background. The minimum contrast ratio for reliable scanning is about 4:1. Avoid placing the QR code on a colored or patterned background without sufficient contrast.
- Add your logo: Most QR generators support embedding a logo in the center. Keep the logo small (max 20–25% of the QR area) so it doesn't obscure too many data modules.
- Brand colors: You can use a brand color for the QR modules, but test thoroughly — some color combinations scan unreliably on older devices. When in doubt, keep the modules dark.
- Quiet zone: Leave a white margin around the QR code. At least 4 module widths on every side. Cutting into this margin causes scan failures.
- Label it: Add a short call-to-action below the code: "Scan for menu" or "View our menu." Guests who aren't sure what to do will appreciate the prompt.
Tracking QR Menu Scans
One of the biggest advantages of dynamic QR codes over paper menus is the analytics. With QR Master's scan tracking, you can see:
- Scan volume by time: When are guests scanning most? This tells you whether your lunch push is reaching tables, or whether most engagement happens at dinner.
- Device breakdown: iOS vs. Android. Useful for optimizing the mobile experience for your actual audience.
- Location data: If you have multiple locations or multiple QR codes at different positions (table tents vs. window), you can see which placements drive the most scans.
- Scan trends over time: Is a new menu section driving more engagement? Did a menu update increase scan rates?
Use UTM parameters in your menu URL to connect QR scan data to Google Analytics — this lets you see not just how many people scanned, but what they did on the menu page afterward. Learn more about QR code scan tracking →
Troubleshooting: Why Guests Can't Scan Your QR Menu
If guests are struggling to scan, the cause is almost always one of these:
- QR code too small: Below 1.5" × 1.5" becomes unreliable on most smartphone cameras. Go to at least 2" × 2".
- Low contrast: Dark QR on dark background, or faded print. Always use dark modules on a white or near-white background.
- Glossy lamination with reflections: Light glare from overhead lighting hits the laminated surface and confuses the camera. Use matte lamination for table cards.
- Damaged or dirty code: A QR code can withstand up to 30% damage (that's the error correction), but a sticky menu tent with sauce obscuring a corner will fail. Replace when dirty.
- Slow destination page: The QR code itself scanned fine — the menu page is just slow. Optimize page load speed. A PDF over 2MB on a weak mobile connection feels broken even if it's technically working.
- No quiet zone: If the QR code was cropped or printed too close to an edge, scanning will fail. Always check the printed proof before ordering a large batch.
Restaurant QR Menus and Use-Case Examples
QR menus work across different restaurant formats — but the implementation details vary. See how different restaurant types use QR Master for their menus →
- Fine dining: Embed the QR code on the back of a premium menu card. Keep the design minimal and brand-consistent. Use a PDF of the full menu with allergen notes.
- Casual dining / fast casual: Table tents or placemat QR codes. Update frequently for daily specials. Use a mobile-optimized landing page for the best experience.
- Bar and nightclub: Drinks menus change weekly or seasonally. Dynamic QR codes on acrylic stands let you update the menu without touching the physical display.
- Food trucks: A single QR code sticker on the serving window. Update the menu as items sell out during the day.
- Hotels and room service: In-room QR codes for the restaurant or room service menu. Update for seasonal changes without contacting housekeeping about every tent card.
Ready to create your restaurant QR menu?
Create a free dynamic QR code in under 2 minutes. Update the menu link anytime, track scans from your dashboard, and never reprint a table card because of a URL change.
Create your menu QR code →